Configure Form Fields
Form fields define exactly what an assistant form collects. Each field has a type that controls how it's shown and what a visitor can enter.
Field Types
| Type | Collects | Notes |
|---|---|---|
| Text | A single line of text | For short free-text answers. |
| Long text | A paragraph | For longer, multi-line answers. |
| Number | A numeric value | Accepts numbers only. |
| An email address | Checks for a valid email format. | |
| Date | A calendar date | Shown with a date picker. |
| Select | One choice from a list | Needs a list of options. |
| Radio | One choice from a few visible buttons | Needs a list of options. |
| Checkbox | A yes/no (opt-in) | For consent or a single toggle. |
Steps
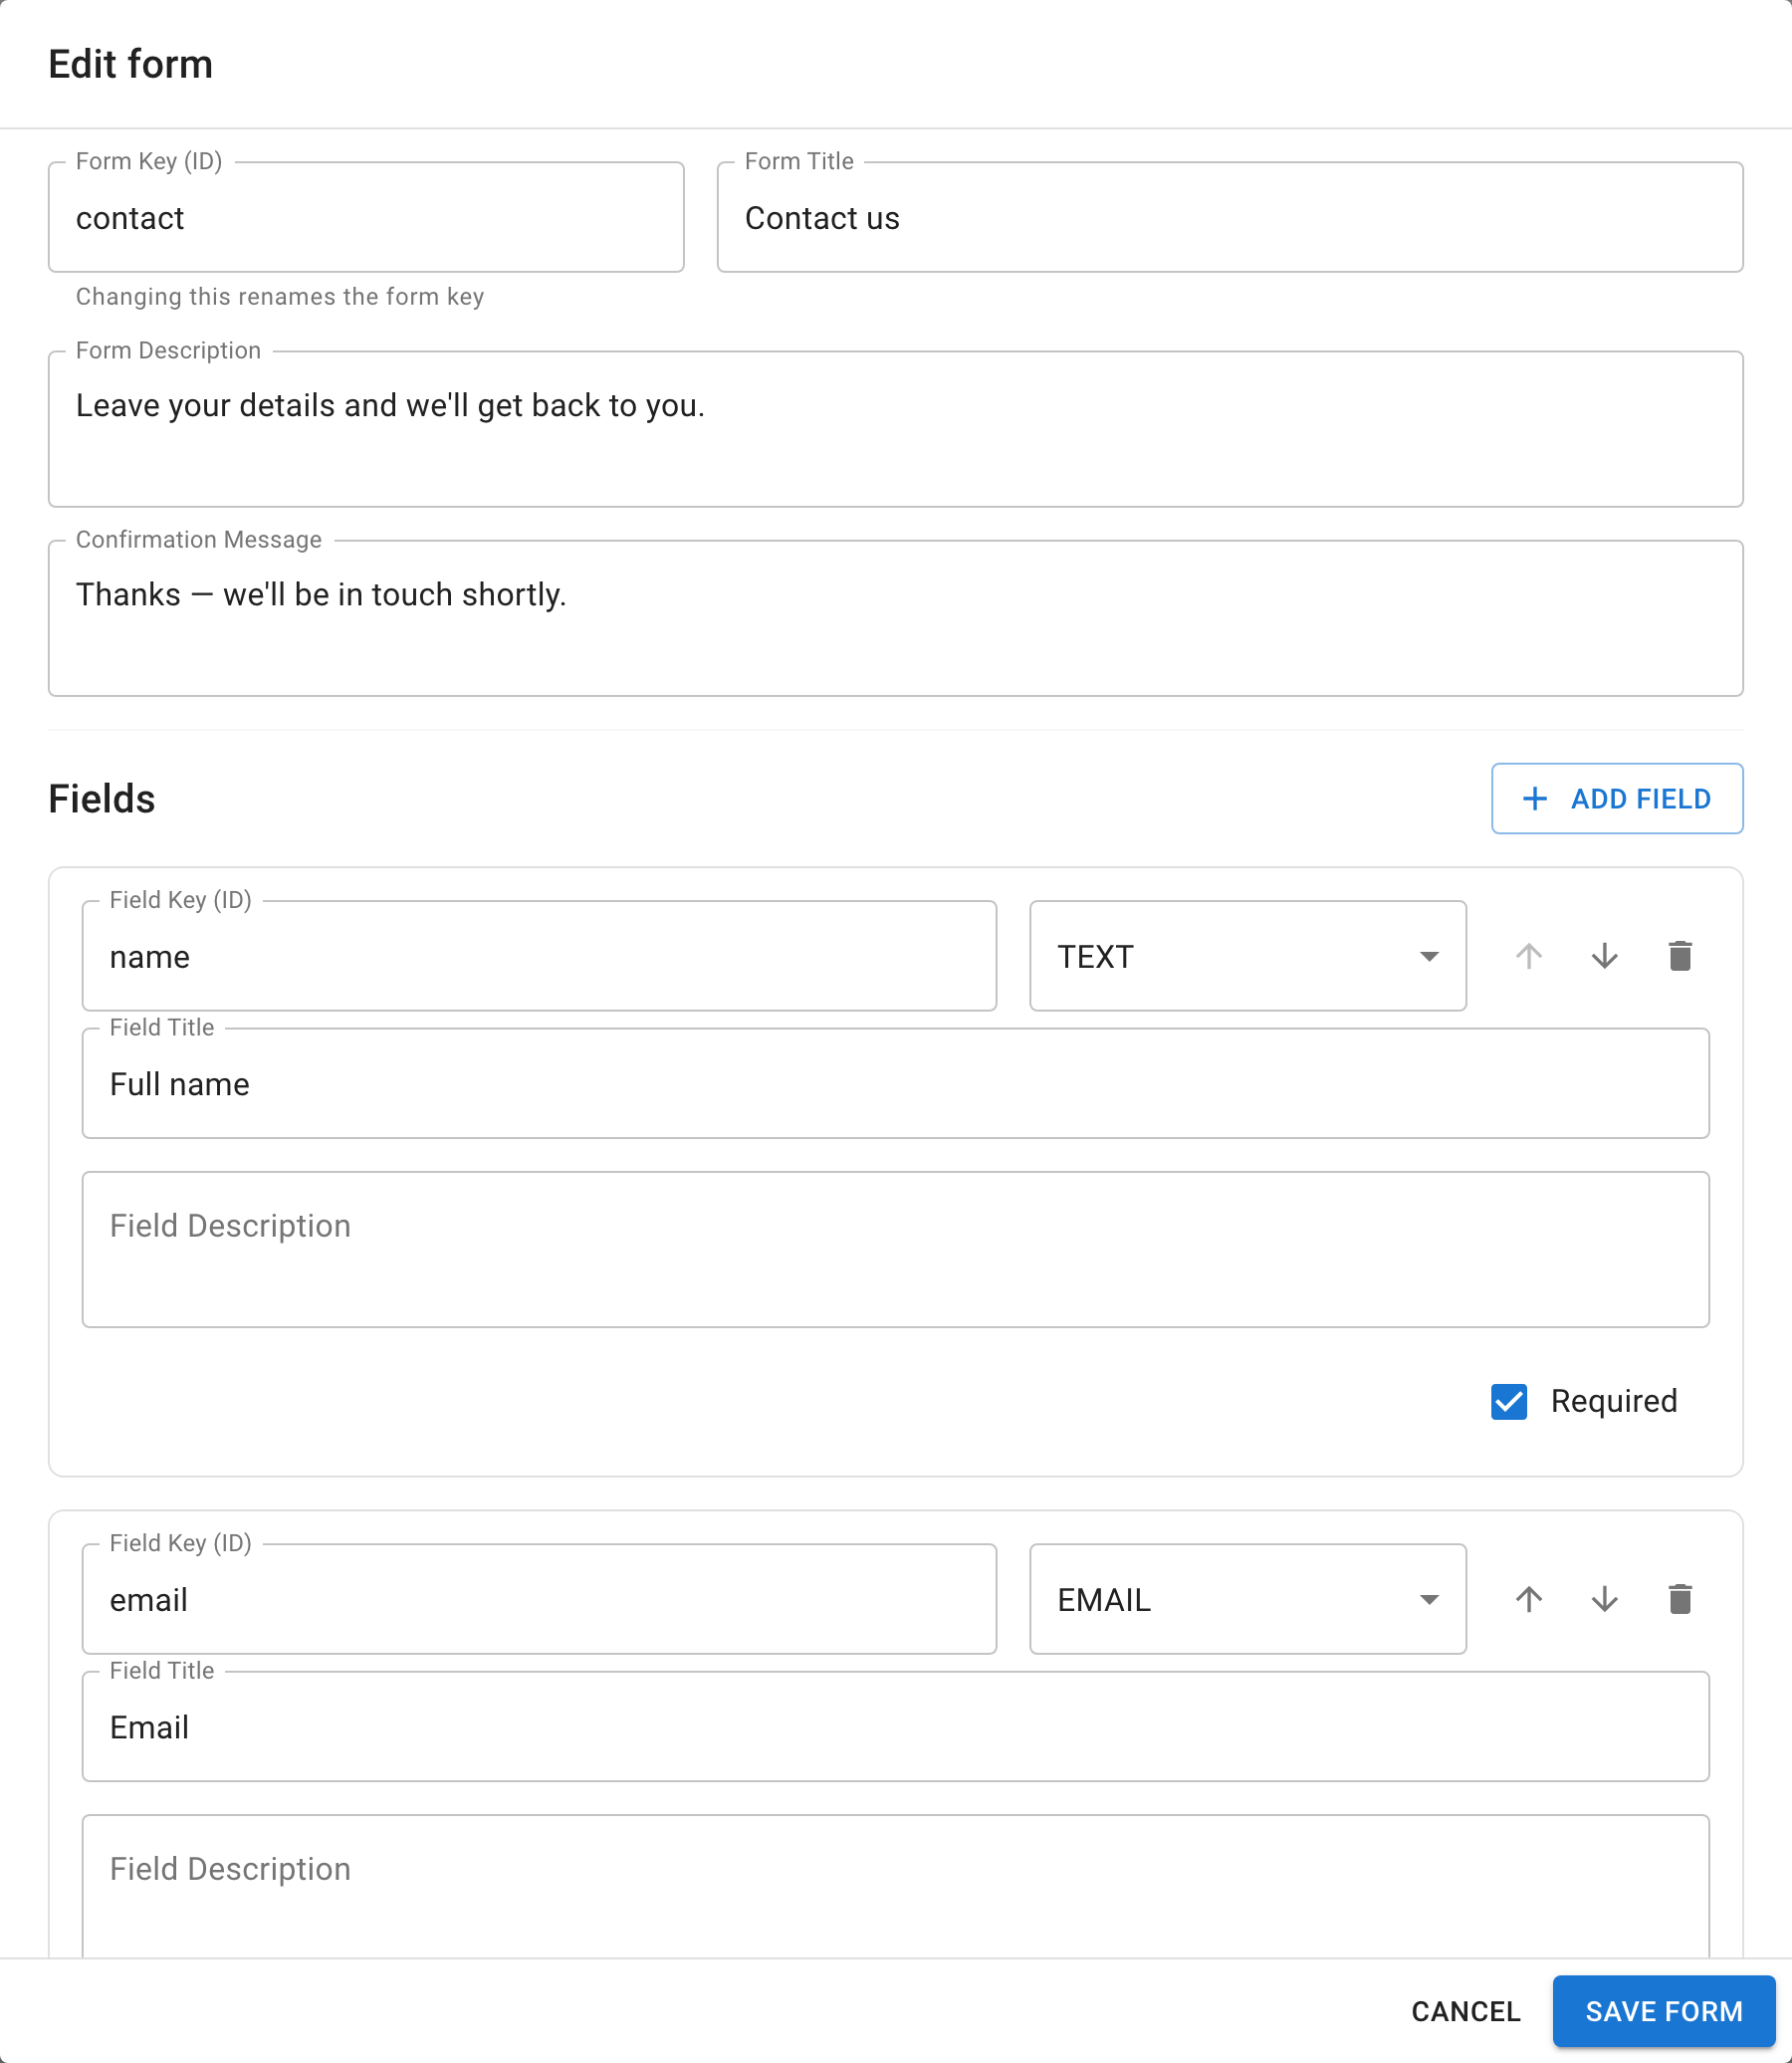
- Open the assistant's Forms settings and select the form.
- Add a field.
- Choose the field type from the table above.
- Add a clear label — the question the visitor sees.
- Mark it required only if the visitor must fill it in to submit.
- For Select and Radio, add the list of options.
- Save.
Verify the Result
Open the assistant and complete the form yourself. A required field should block submission until it's filled, and an Email field should reject a value that isn't a valid address.
Troubleshooting
- Keep the field list short — every extra field lowers completion.
- Use required sparingly; reserve it for the one or two fields you truly need.