Tutorial: Create a Website Assistant
The fastest way to see Seekdown work: point it at a website you already have, and in a few minutes you'll have an assistant answering from your own pages, with links back to where each answer came from.
Before You Start
- The address of the site (or the section) you want the assistant to know.
- A minute or two — bigger sites take longer to read.
Steps
- Open Home and choose Create assistant for your website.
- Enter the website address and a title you'll recognize. Seekdown creates a memory dataset for the captured pages automatically, or you can pick an existing one.
- Start the crawl. Seekdown reads your pages one by one — give it a moment; a bigger site simply takes longer.
- Walk through the wizard's six configuration steps — Personality, Identity, Tips, Display mode, Theme — then save. Each step is explained below.
- In the playground, ask something you already know the answer to and watch it come back with a source.
The Wizard Steps
You can skip ahead with Continue or jump to the full settings with Advanced configuration at any time.
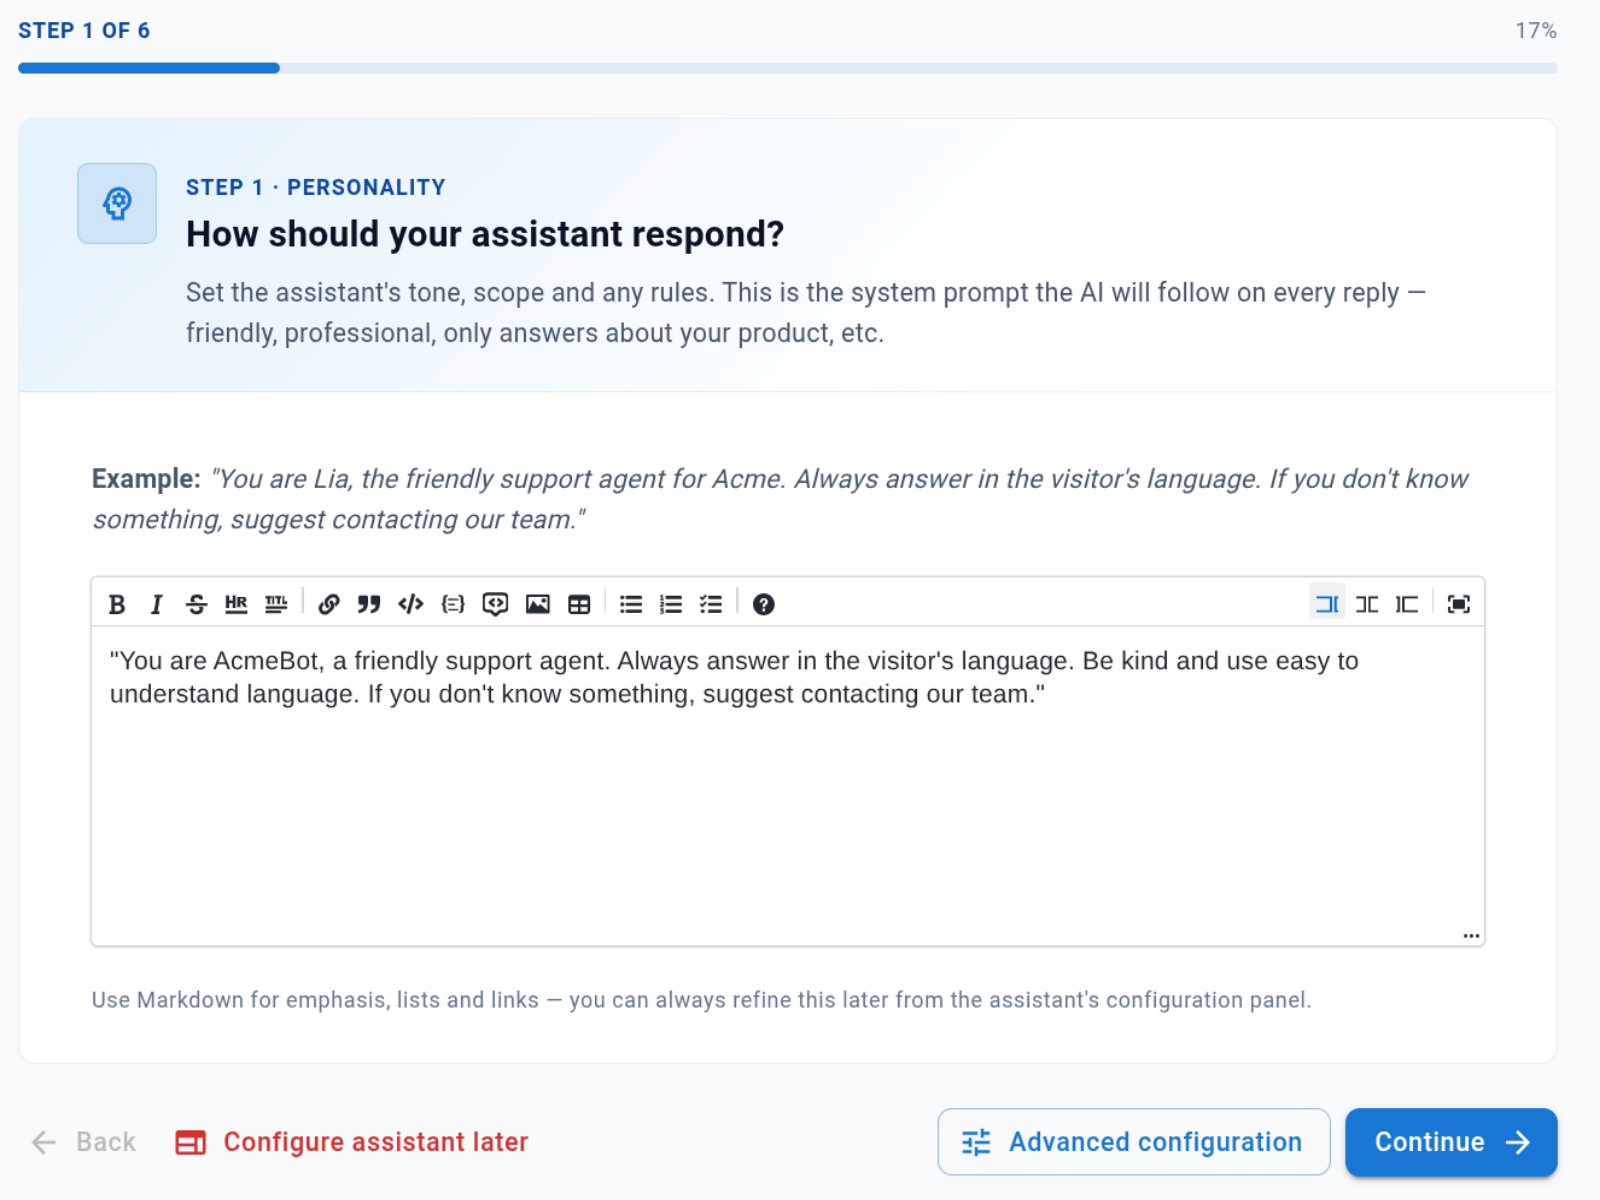
Step 1 — Personality. Set the assistant's tone, scope, and any rules. This is the system prompt the AI follows on every reply — tell it to be friendly, professional, stick to your product, or answer in the visitor's language. Use Markdown for emphasis, lists, and links.
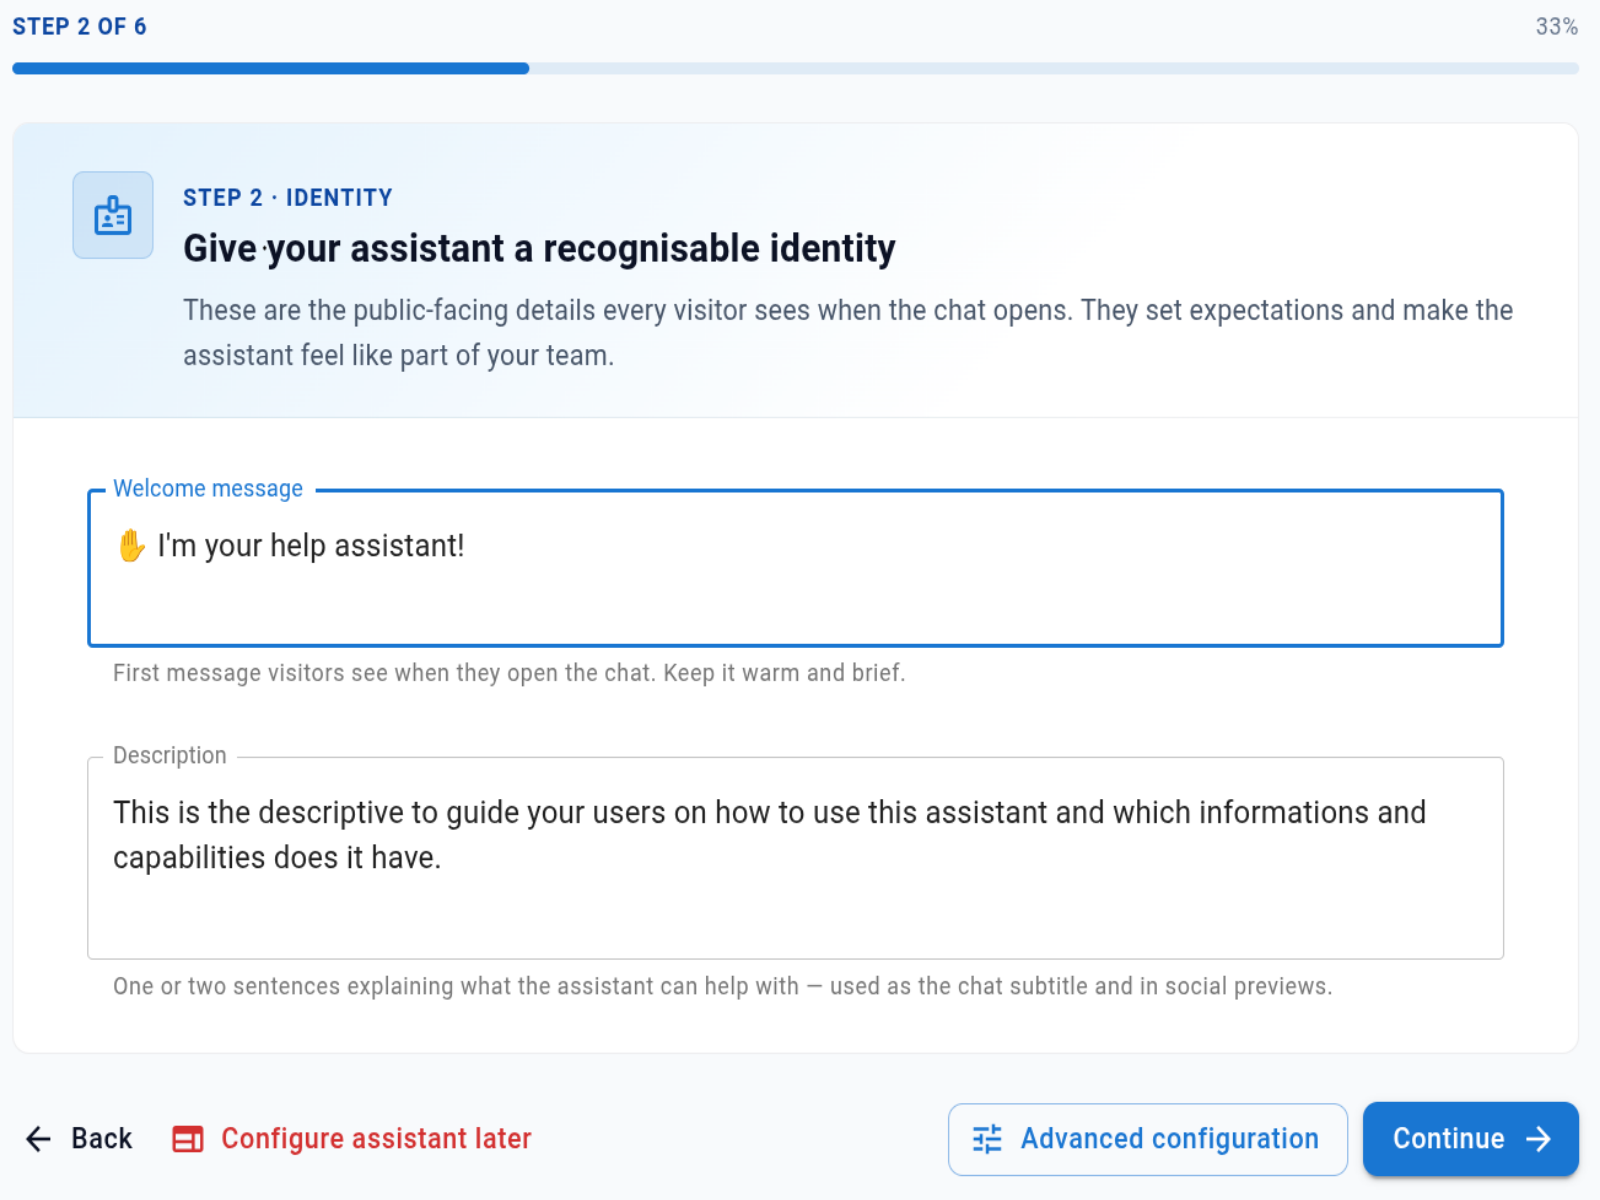
Step 2 — Identity. Give the assistant a recognisable face. The welcome message is the first thing visitors see when the chat opens — keep it warm and brief. The description is a one-liner used as the chat subtitle and in social previews.
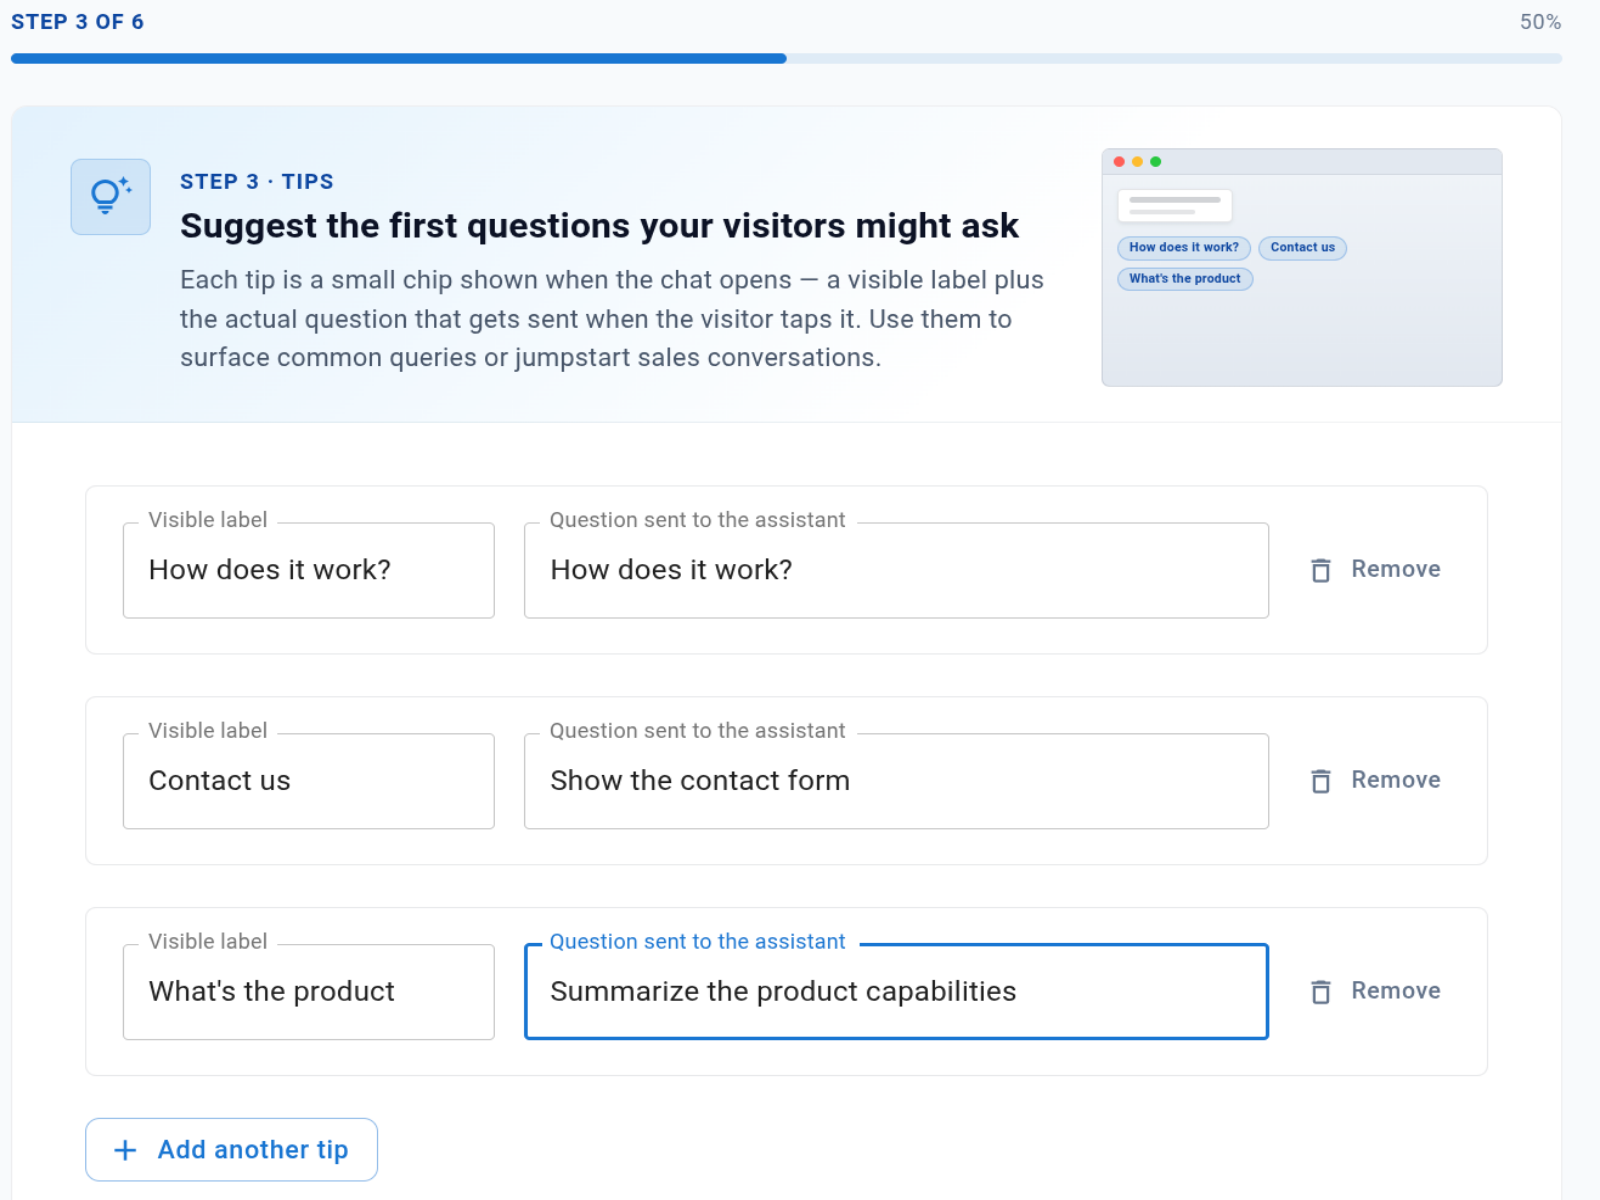
Step 3 — Tips. Suggest the first questions your visitors might ask. Each tip is a small chip shown when the chat opens — a visible label the visitor sees and a question sent to the assistant when they tap it. Use them to surface common queries or jumpstart sales conversations. Click Add another tip for more.
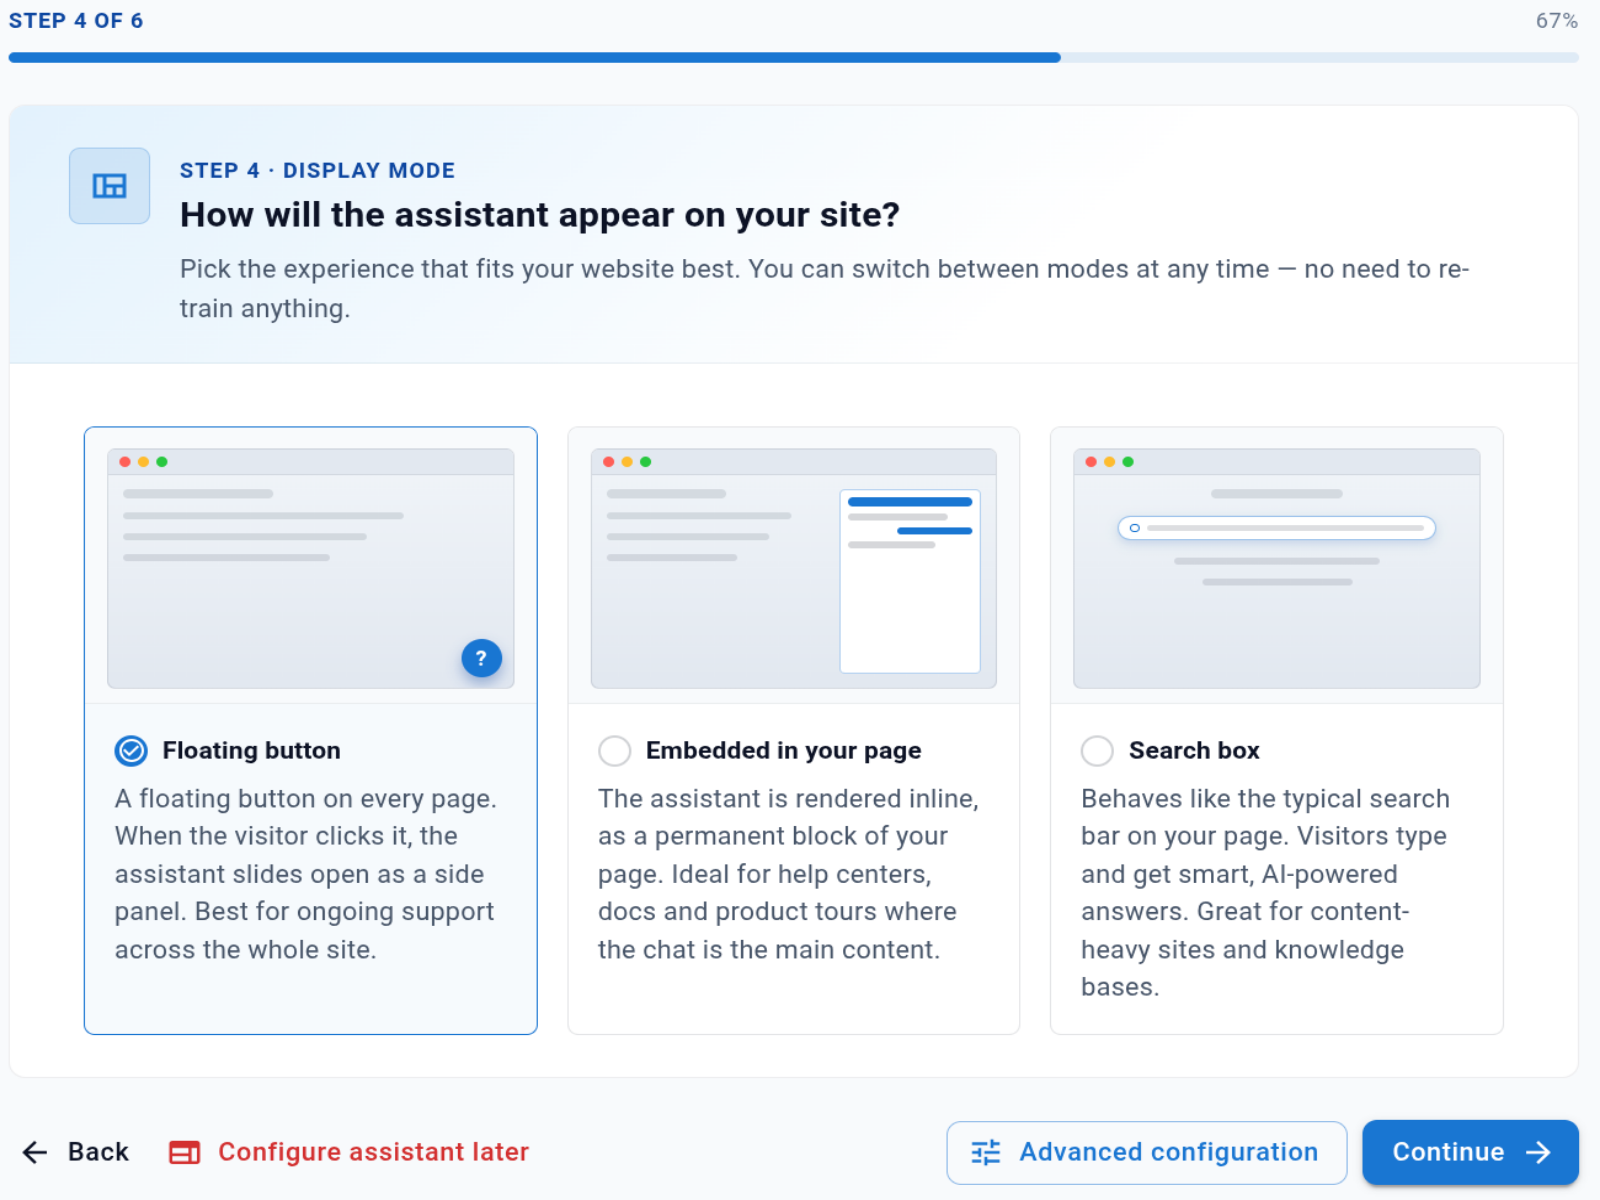
Step 4 — Display mode. Choose how the assistant appears on your site. You can switch between modes at any time — no need to re-train anything.
- Floating button — a floating button on every page; clicking it slides open the assistant as a side panel. Best for ongoing support across the whole site.
- Embedded in your page — the assistant is rendered inline as a permanent block. Ideal for help centers, docs, and product tours where the chat is the main content.
- Search box — behaves like a typical search bar. Visitors type and get smart, AI-powered answers. Great for content-heavy sites and knowledge bases.
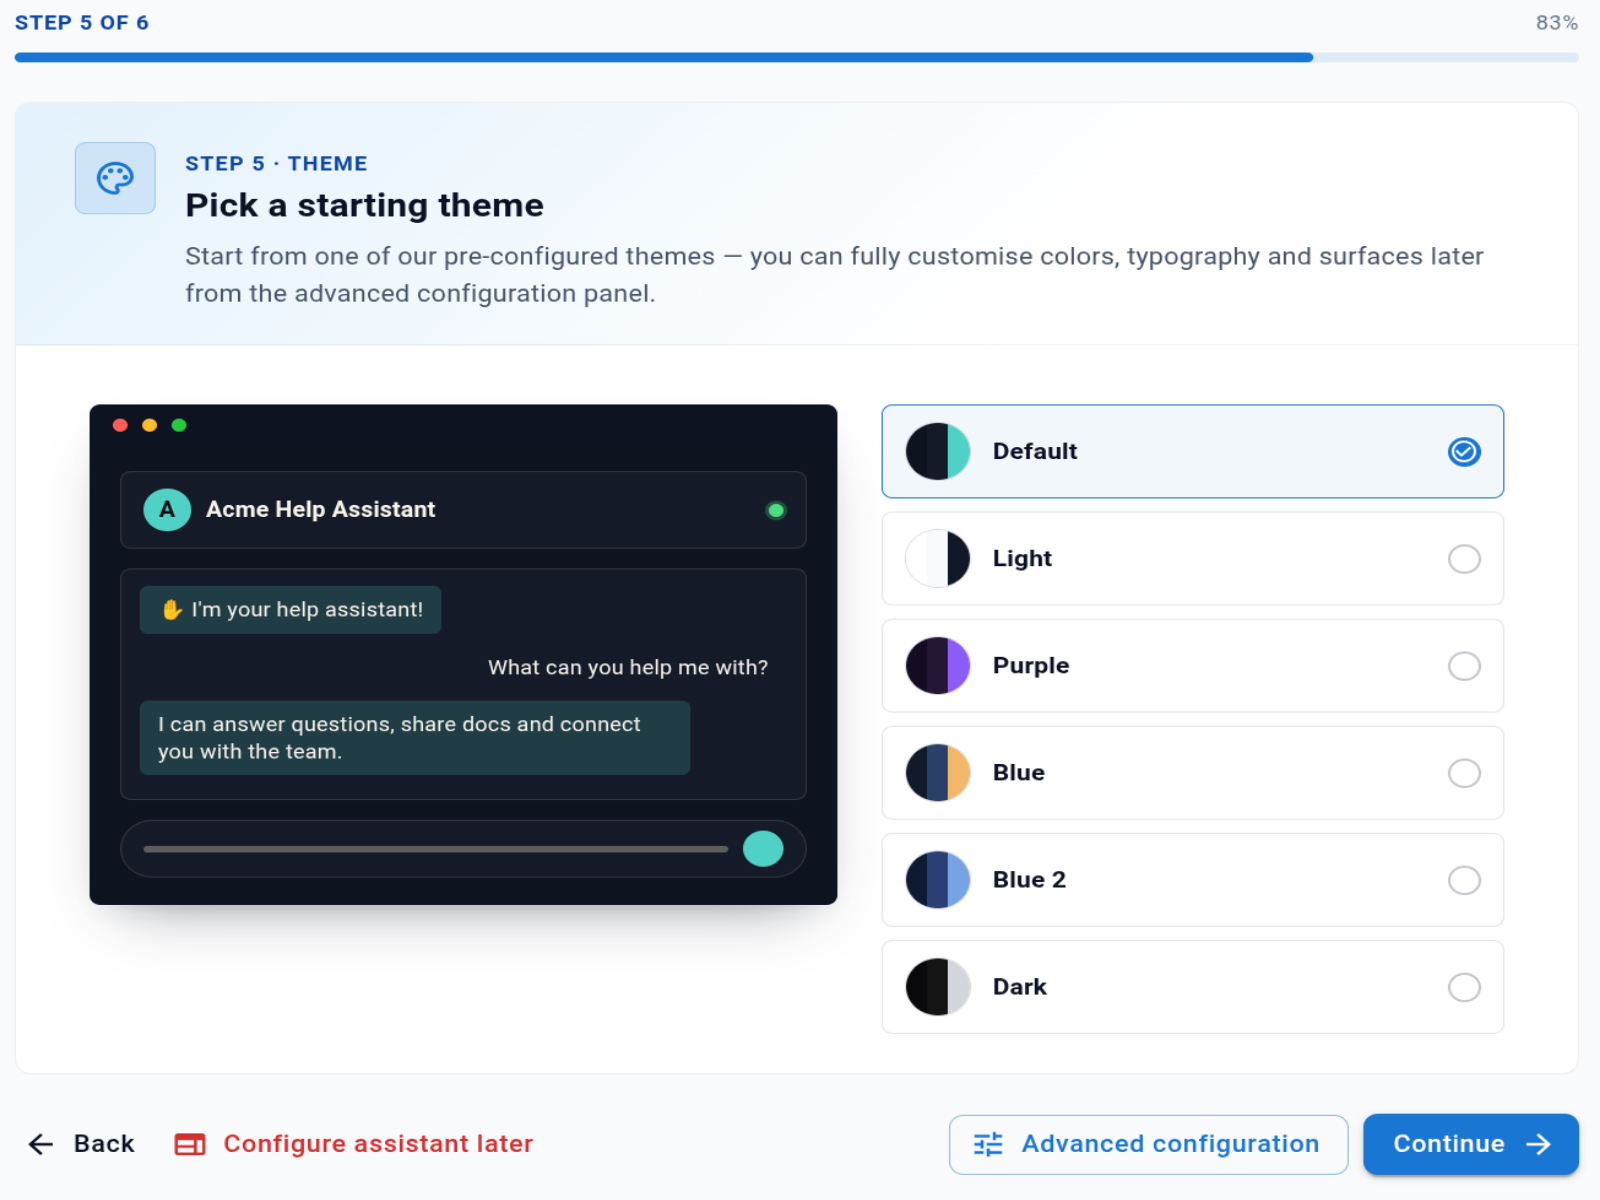
Step 5 — Theme. Pick a starting color theme. The live preview on the left updates instantly as you select one. Six built-in themes are available: Default, Light, Purple, Blue, Blue 2, and Dark. You can fully customise colors, typography, and surfaces later from the advanced configuration panel.
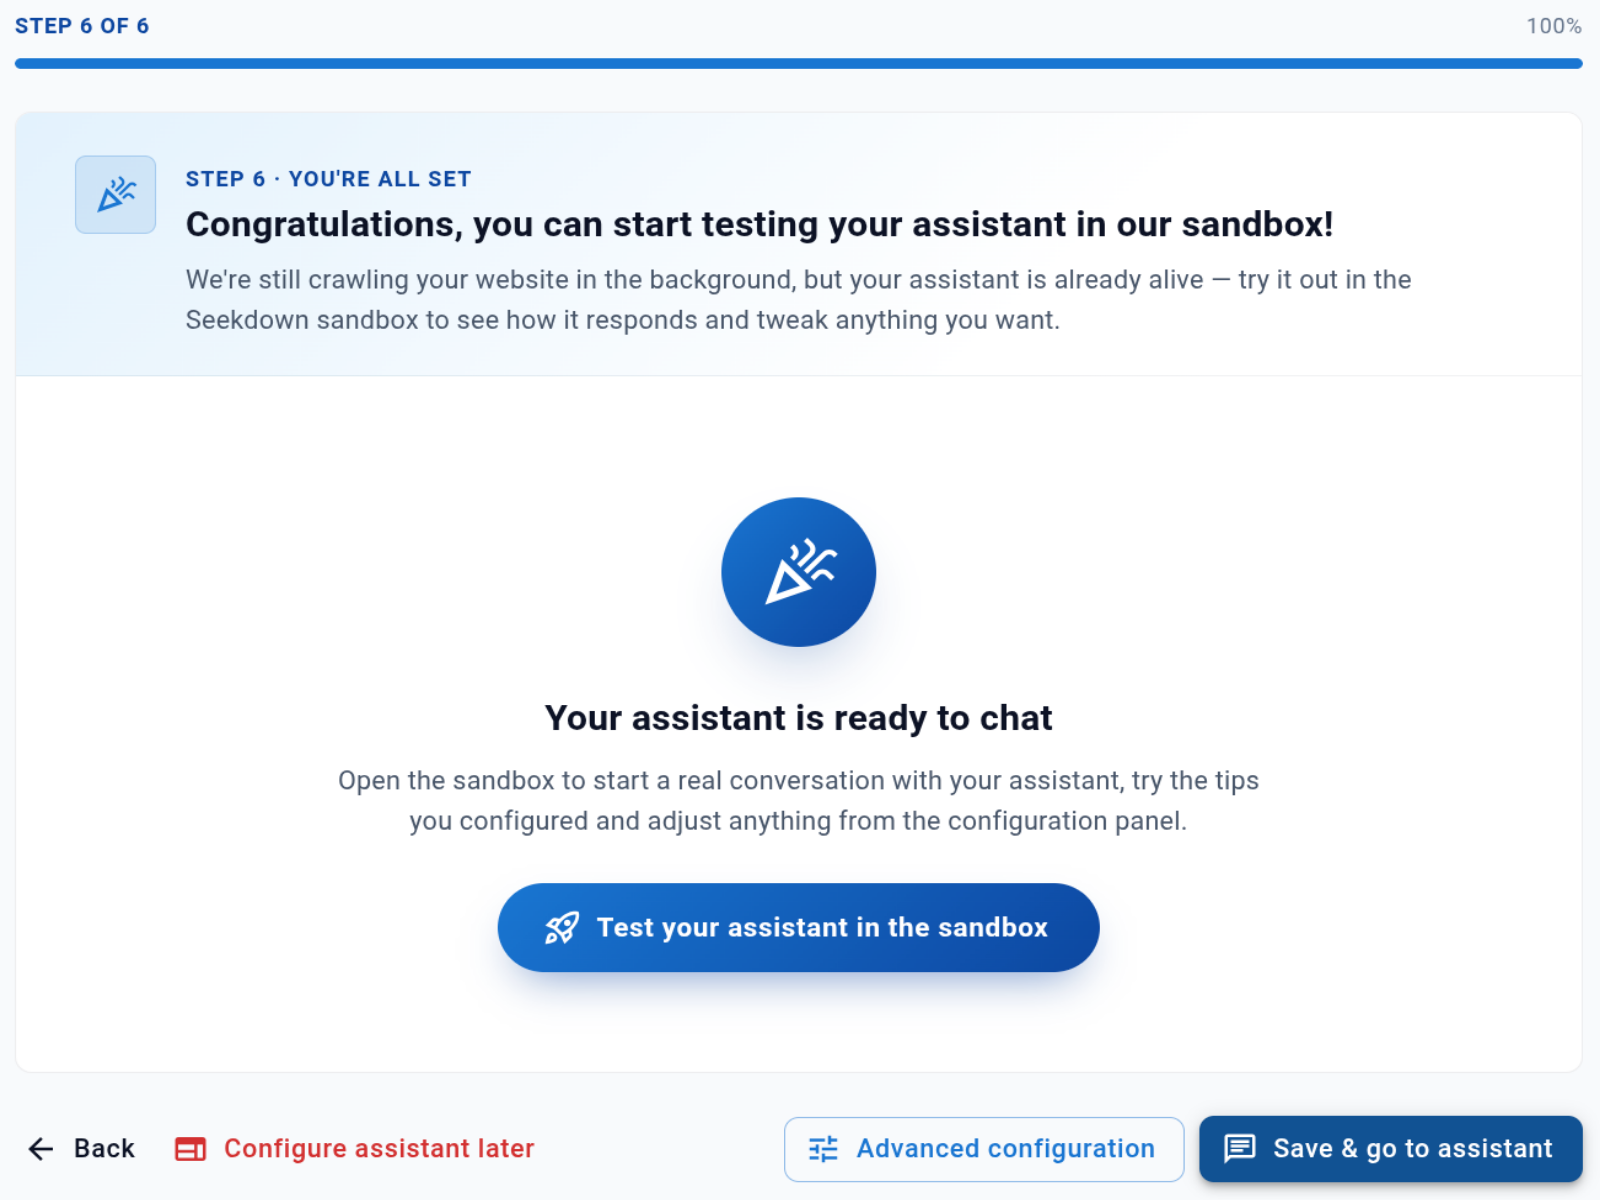
Step 6 — You're all set. The data capture job is still working in the background, but your assistant is already live. Choose Test your assistant in the sandbox to start a real conversation and try the tips you configured.
Verify the Result
The assistant answers from the pages the data capture job captured, and cites them. If an answer is thin, it's usually a page that wasn't captured yet.
Troubleshooting
- If answers are missing, open the data capture job and check its discovered links.
- If the site needs a login or blocks crawling, some pages won't be captured — see Handle Blocked URLs.