Add an Assistant Form
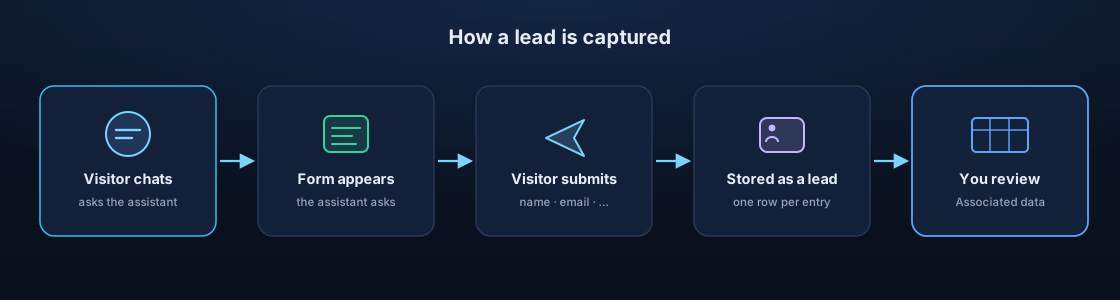
Assistant forms let an assistant collect structured information from visitors — a name, an email, a question — right inside the chat. Each submission is stored as a lead you can review later under the assistant's Associated data.
A form can appear two ways:
- The visitor opens it — for example a "Contact us" prompt in the conversation.
- The assistant surfaces it automatically — give the form an
activation trigger and the assistant decides, from what the visitor is asking, when to show it (for example, offering a "Book a demo" form the moment someone asks about pricing). You don't script this in the behaviour instructions — the assistant treats the form as a tool it can reach for.
Either way, a submission is stored as a lead in exactly the same place.
Before You Start
- Open the assistant you want to collect leads with.
- Decide what to collect — keep it to the few fields you'll actually use.
Steps
- Open the assistant's Settings.
- Open the Forms tab.
- Choose Create New Form.
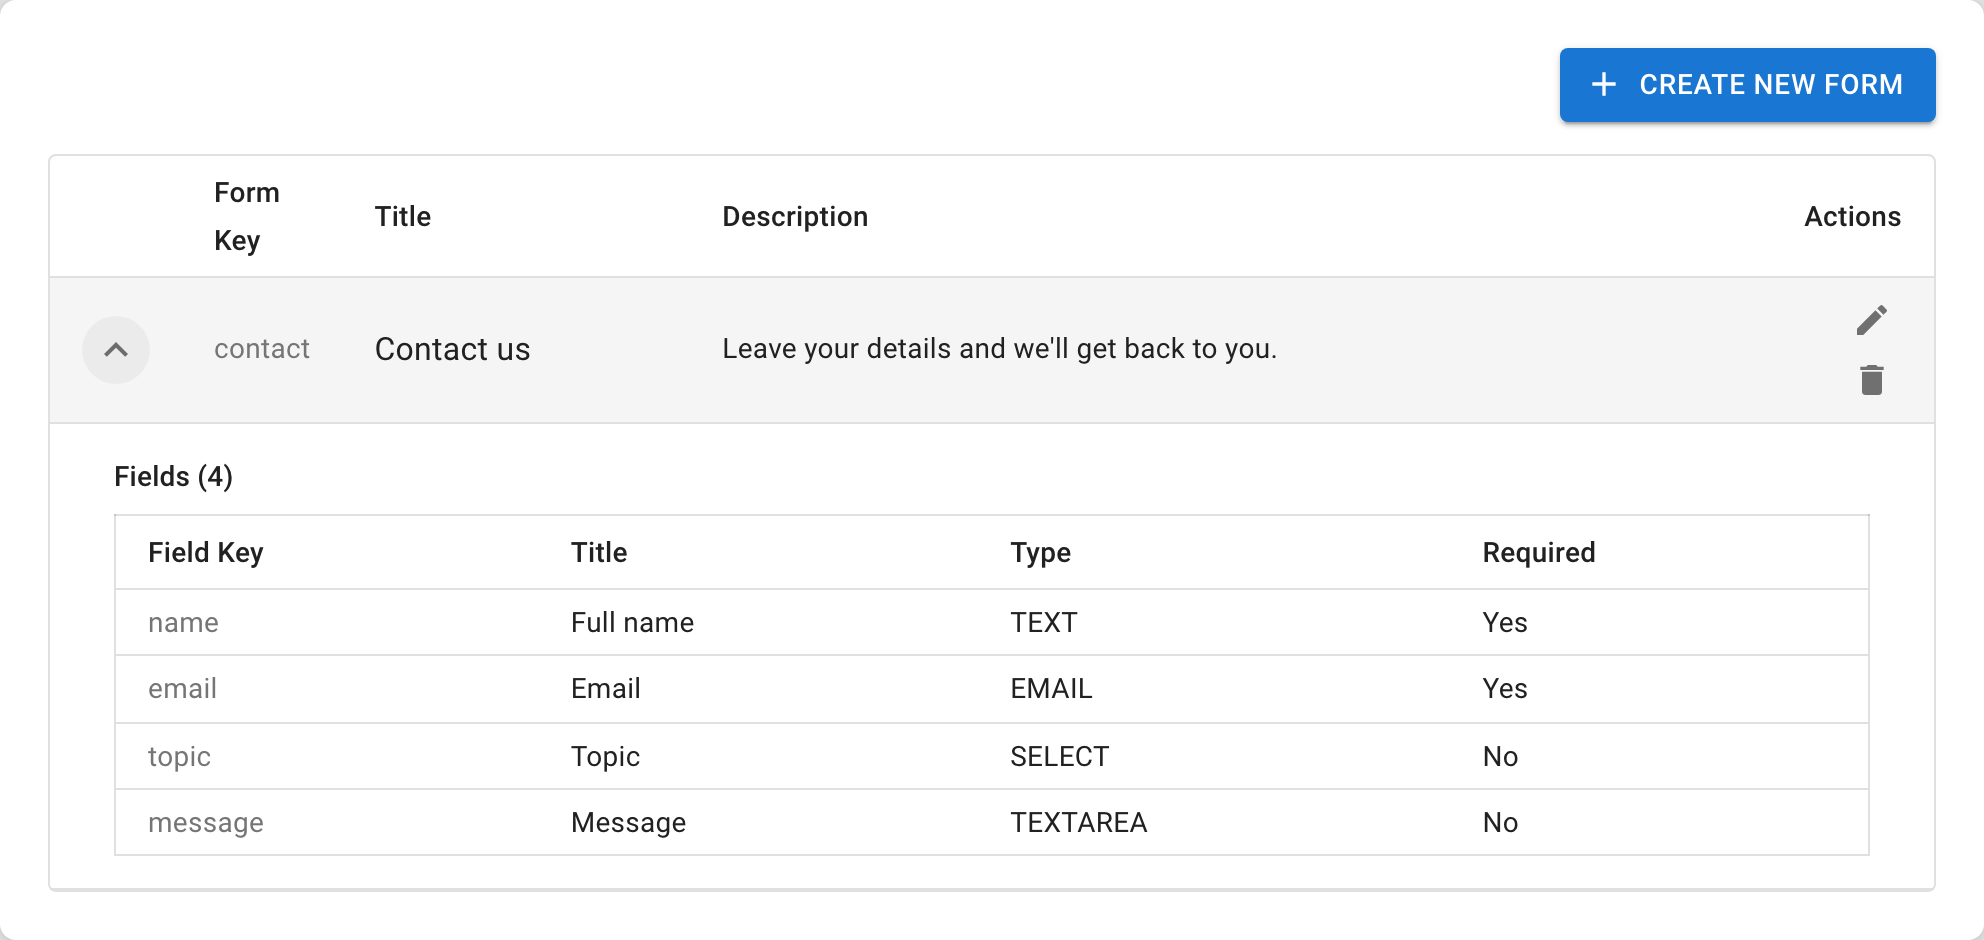
- Give it a Form Title and a short description — this is what visitors see above the fields.
- Add the fields you need (see Configure Form Fields).
- Optionally write a Confirmation Message — the text a visitor sees after they submit (for example, "Thanks — we'll be in touch within one business day."). Leave it empty to use the default confirmation.
- Optionally set an Activation trigger so the assistant can offer the form on its own (see Surface a Form Automatically).
- Save the assistant configuration.
Keep forms short
A form is usually just two or three fields (for example name, email, and one question). Visitors can skip a form unless you mark its fields required, so ask only for what you'll act on — longer forms get abandoned.
Verify the Result
Open the assistant in the playground and submit the form as a visitor would. The submission should then appear under the assistant's leads.
Troubleshooting
- If Leads / Associated data is missing, confirm the assistant has a saved form.
- If visitors don't submit the form, shorten it and make the prompt clearer.