Configure Allowed Origins
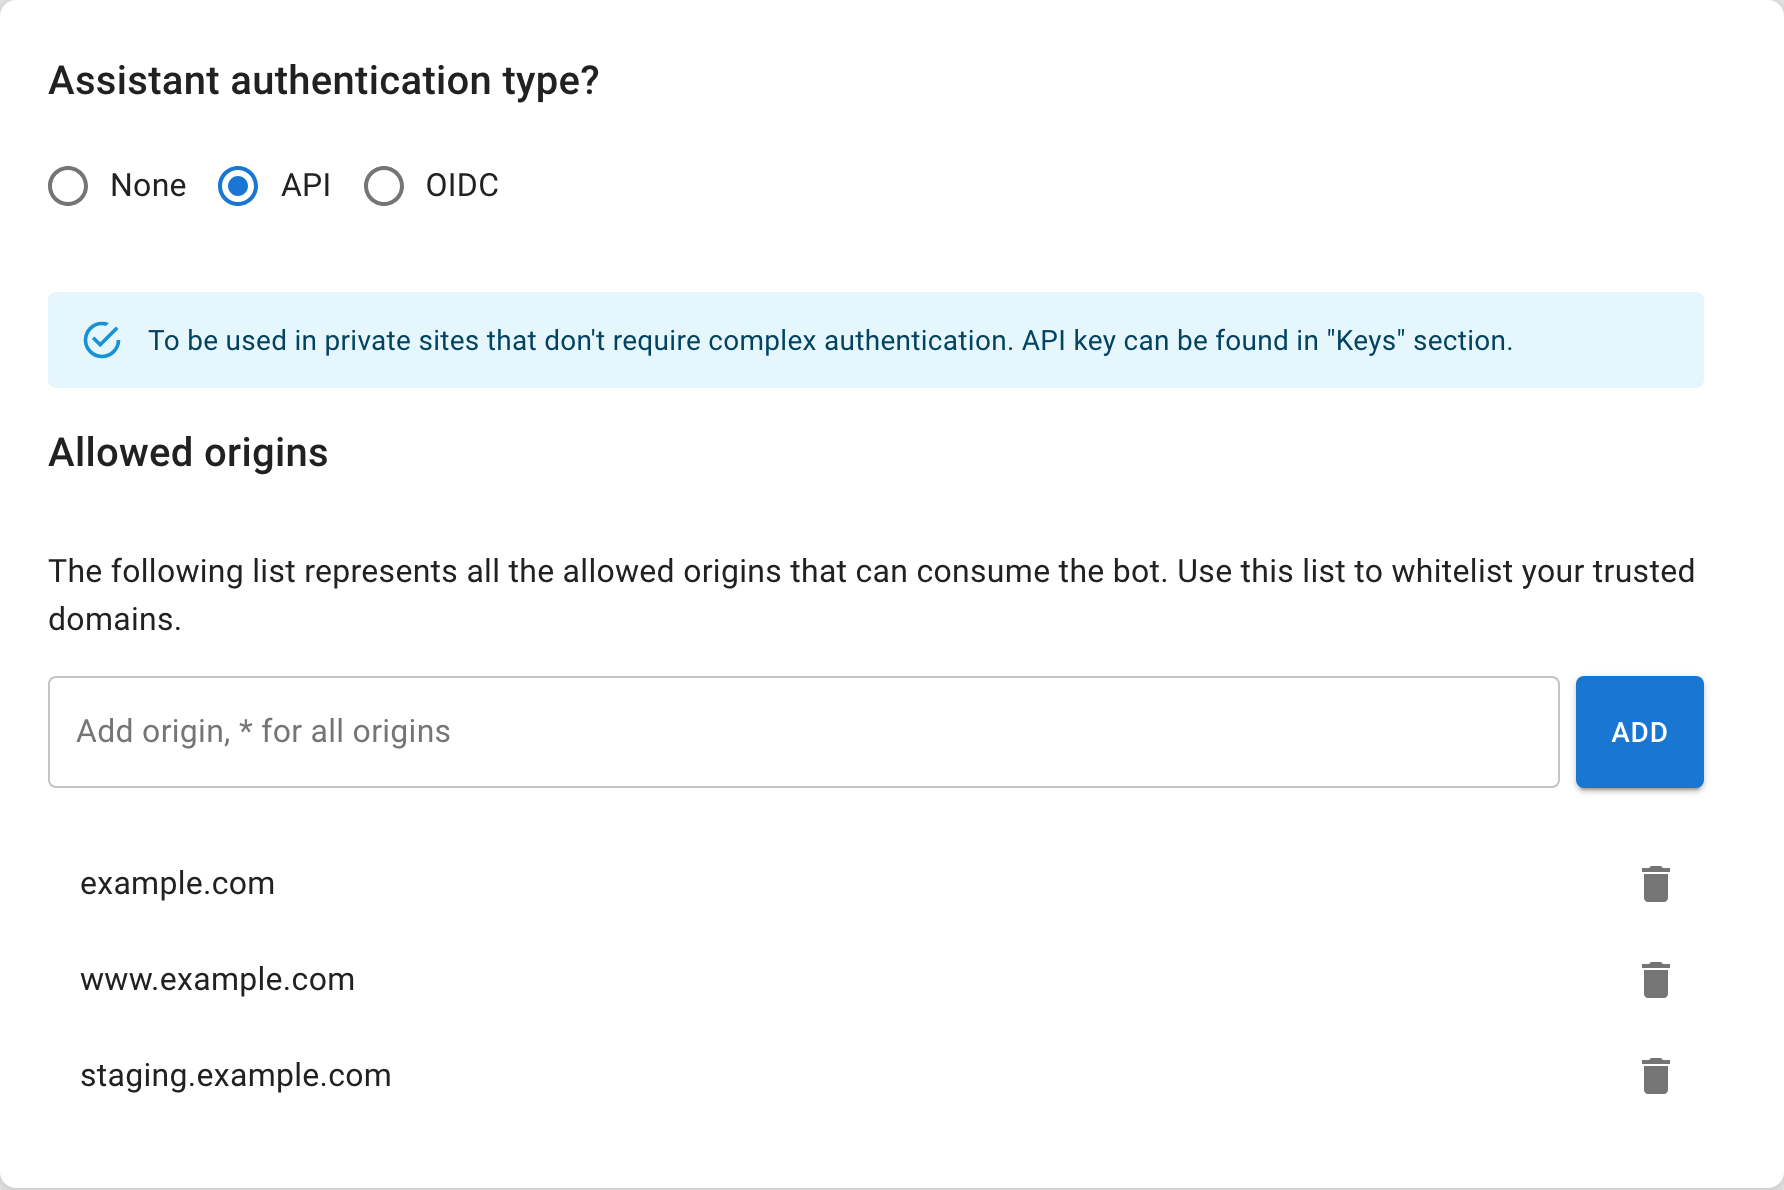
This is the one step people forget — and then wonder why the assistant won't show up. Allowed origins are the list of domains permitted to load your assistant (a CORS-style allow list), and an embedded assistant only starts on an origin that's on it.
Steps
- Open the assistant, its Settings, and the Security tab.
- Add each domain that will host the assistant.
- Save.
Rules
- Use the exact domain from the browser's address bar (for example
example.comorwww.example.com). *allows every origin — handy while testing, but narrow it to your real domains before launch.- Add both staging and production domains if you use both.
- For Shopify, include your
.myshopify.comdomain and any custom domain.
Troubleshooting
- If the assistant is blocked, open the browser console and confirm the page's origin is on the list.
- A blocked origin usually looks like the assistant simply not appearing, with a console message saying the origin isn't allowed. Add the exact domain and reload.